
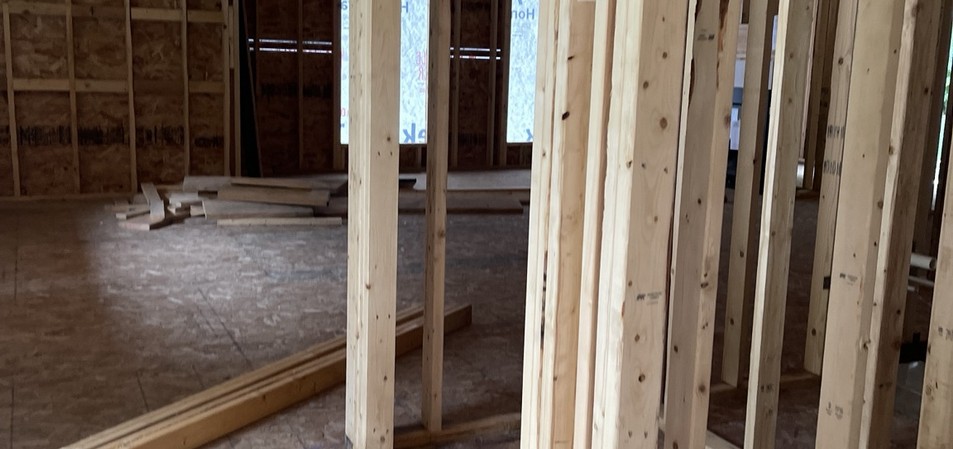
A finished wall hides a lot of work. Before insulation and drywall go up, a planned documentation visit can preserve a visual reference of what was exposed.
Start with the timing
Talk with your builder during framing and rough-in. The useful window is after the agreed plumbing, electrical, and HVAC work is visible, before the next stage covers it. Confirm access and the visit date with the builder.
Work room by room
Identify rooms and wall locations consistently. Include wide views for context and close-up photographs for details that matter. A 360° view can complement these photographs where the agreed scope includes it.
Make a checklist before the visit
Use your floor plan to identify each room, wall, and area that needs a record. Discuss visible wiring routes, plumbing supply and drain lines, HVAC runs, framing details, and selected dimensions. Mark any areas needing closer photographs, then agree how photos and notes will be named so the right information is easy to find later.
Record measurements while you are there
A photograph alone does not establish a verified dimension. Agree which measurements are needed, take them on site from clear reference points, and keep them as notes with the related photograph.
Keep the record easy to find
Dated folders, clear room names, and photo locations on a supplied floor plan help make the archive useful during a later repair, addition, or remodel.
Make a plan before the milestone
Tell WEMAD where you are building and which stage is approaching. We can discuss interior documentation alongside aerial progress coverage and agree the deliverables before the visit.